


Home

About

Projects

Services

Contact

December 2025 -
Psycorps
Platform: PC / Mac
Engine: Unity
Team Size: 20 (Remote)
Duration: In development
Software: Blender
Build: Steam
For Glik Games's next game, they wanted to create their first commercial game that is set to release at the end of 2026. The team was made up of 2 producers, 4 designers, 8 artists, 3 programmers, 1 marketer, and 2 sound designers.For this ongoing project, I was tasked with making 3 fully modeled characters along with their texture maps.
Pre-production Stage
While waiting for the concept artists, I decided to make a female base character to help me streamline my modeling process.This was my first time creating a base, and it taught me that I need to practice my anatomy a bit more, but overall this was a good first start.


Modeling Stage
Using the base model I made during pre-production was super helpful since I didn't have to start from scratch while creating these models.The most challenging part while making Jane was modeling her facial features and creating her hair. I actually had to redo her whole head and follow YouTube tutorials to learn how to make hair strands. I also used those same hair strands to make her eyebrows as well.Since I kept my poly count low and I wanted a smoother look, I just turned on Auto Smooth and let it work its magic.


Concept art by Niko Agard
UV and Texturing Stage
To save space on my UV maps, I decided to stack identical maps so I can get the most details for my models while keeping my texture file small.


December 2025 - January 2026
In The Flesh
Platform: PC
Engine: Unity
Team Size: 15 (Remote)
Duration: 2 months
Software: Blender
Build: Itch.io
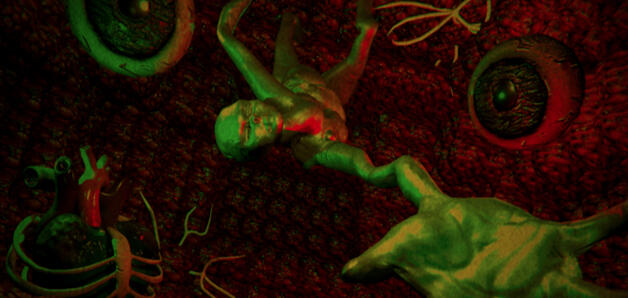
For Glik Games's next game, we wanted to create a voxel-based horror game for the winter break. The team was made up of 1 producer, 2 designers, 7 artists, 3 programmers, and 2 sound designers.For this project I was tasked with creating 3 high-poly characters that look semi-realistic.
Blocking and Modeling Stage
References was my best friend during this stage, and saving multiple versions was a nice fallback in case I needed to go back. I only had concept art for the humanoid monster, and for the others I needed to resort to stock images and my imagination.For this whole process I used Blender 4.2. I wanted to challenge myself and sculpt these models and make them look realistic. The grab tool and the smooth tool were my most used brushes while sculpting, and I used alpha brushes to get those smaller details that make everything pop.


Concept art by Emily Lenahan


Baking and Texturing Stage
Baking textures was not as bad as I thought, and it was interesting to see flat areas look like bumpy and gross when in reality they're not.Since the game is a bunch of meat and slime, I decided to give a slime-like texture to all my models. But only to the areas that would seem to have the most contact in those slime-infested areas.Once I was done with my models, I sent them off, and my job was ultimately done.


Final Thoughts
This game gave me a chance to sculpt and to bake textures. I learned the reasons why professionals make a high-poly model and bake that info onto the low-poly models. Plus, I learned to save texture space by stacking identical UV maps, which means more details.There is so much more to Blender and 3D modeling in general, and I am super satisfied with the results.
October 2025
Harvest Nuke
Platform: PC
Engine: Unity
Team Size: 12 (Remote)
Duration: 3 weeks
Software: Cinema 4D, Clip Studio Paint, Procreate
Build: Itch.io
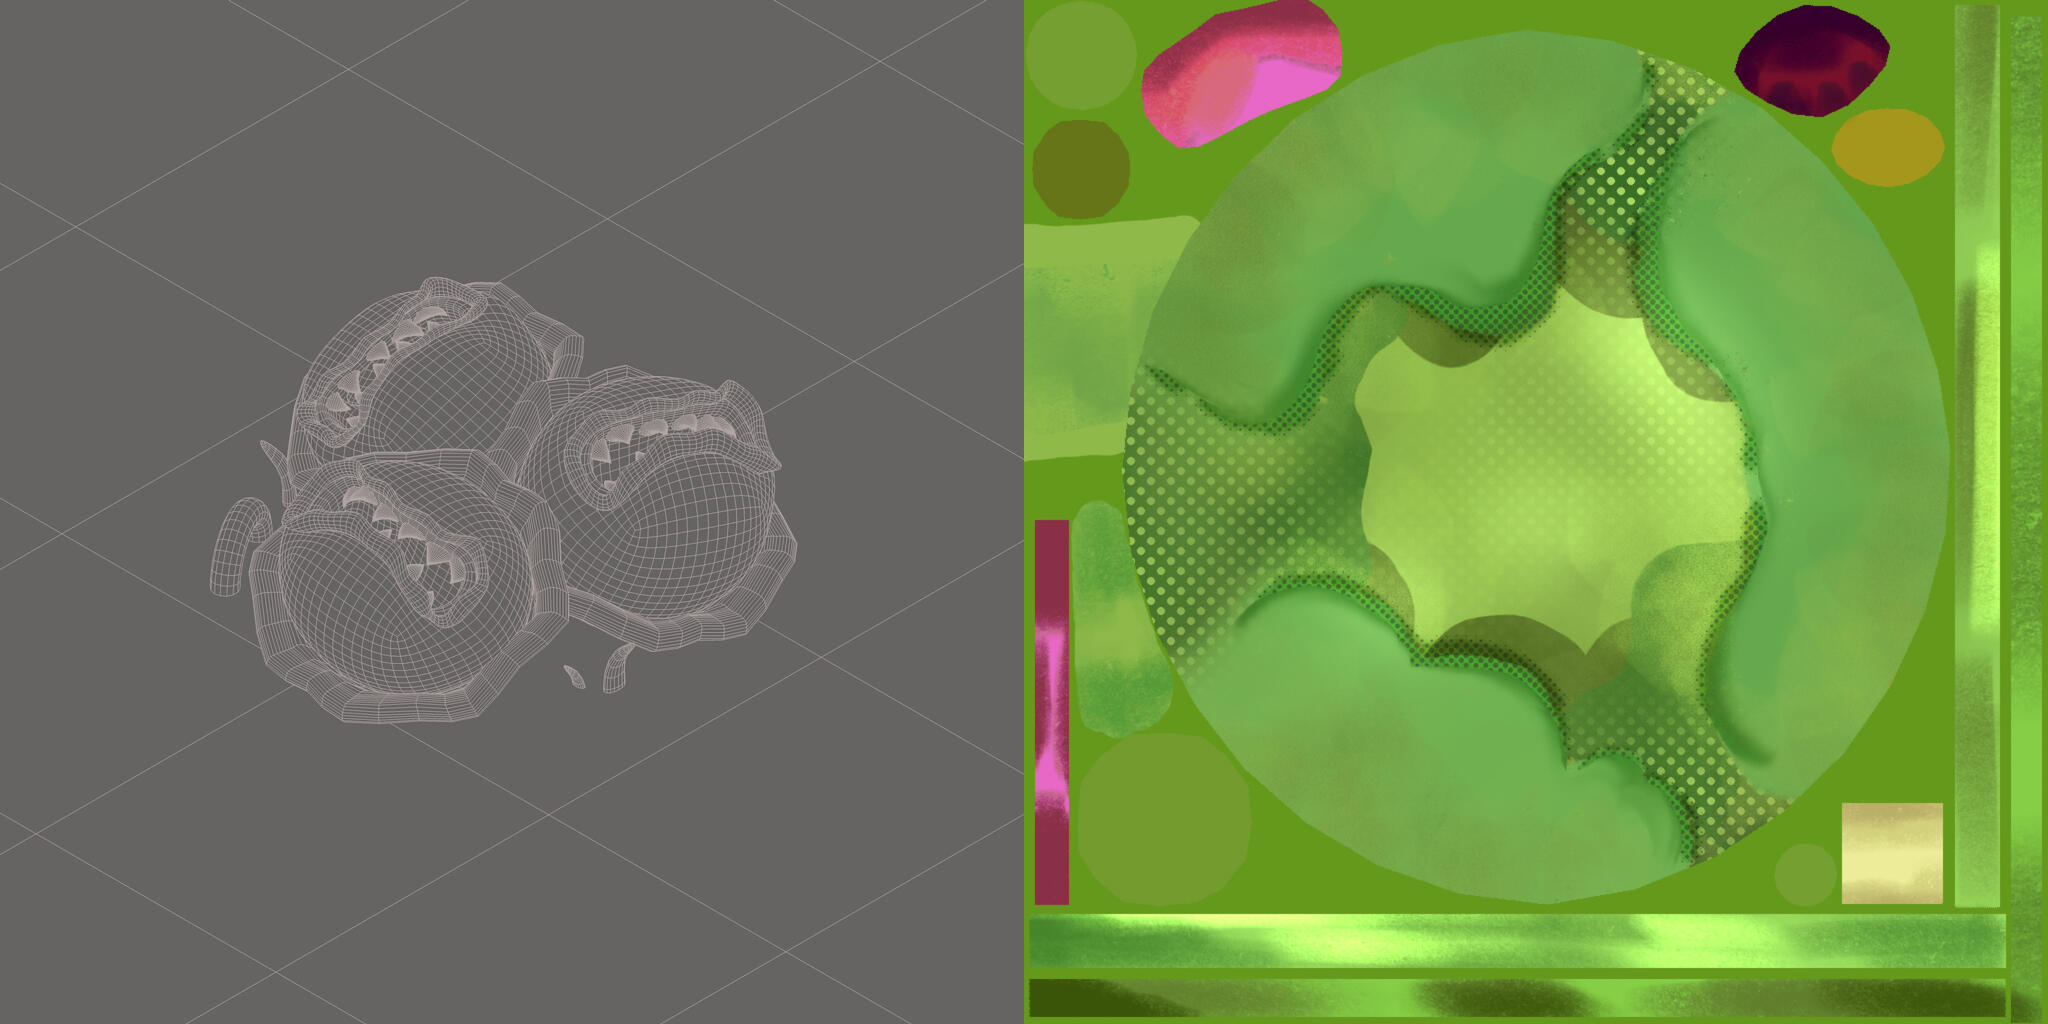
Glik Games invited me to join them in their entry for The Next Great IP Game Jam. I worked remotely with a team of nine to create Harvest Nuke. The team was made up of 1 producer, 2 designers, 5 artists, 2 programmers, and 2 sound designers.During the first week of the project, I mainly focused on the planning and conception of the designs for the NPC and the player. In the remaining weeks, I created five character portraits and 2 character models. The process also includes texturing and animating my models.
Early Concept Stage
For the first week, I was designing different iterations of bio engineered plants and 'humans.' I took inspiration from Plants vs. Zombies, Atomicrops, Courage the Cowardly Dog, and Fusion Fall.I made small notes of each design so my team understands why I made certain choices.


Modeling and Texturing Stage
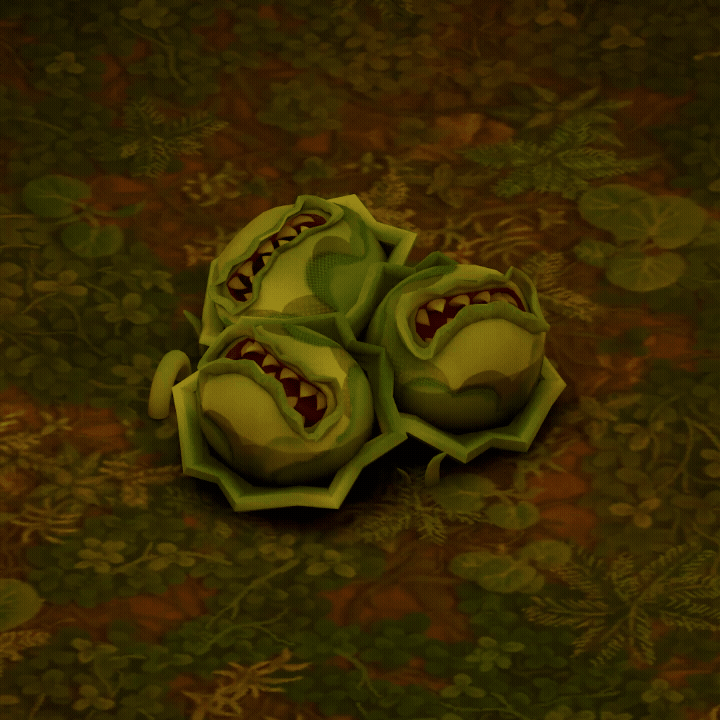
Making cabbages with teeth was interesting to create. I ended up focusing on making one and just duplicated the other two in the end. All three share the same UV for optimization and to save time.Creating one of the NPCs was pretty easy considering that we had another 3D artist and we modeled the NPC from his base model. I just tweaked it a bit and added the defining features.While the NPC was flat-colored because of time constraints, I created vibrant hand-painted textures using Procreate.

Both models were made in Cinema 4D.
Animation Stage
I wanted to challenge myself by creating a looping idle animation of the 'Cabites' biting when the player comes close.Instead of using bones and weight painting them, I used shape morph and deformers to create that squash and stretch and biting.On top of that, I gave each of the crops a slight delay and a slight exaggeration to create the feeling that although they are one crop, they each have a mind of their own.
Character Design Stage
Since the shaders in the game won't allow for such detailed models, I decided to compensate by creating highly saturated characters to balance out the orange terrain.By using Clip Studio Paint, I decided to use complementary colors and an analogous color scheme throughout all character portraits and only made the player front-facing so the audience feels connected with the character.


Final Thoughts
This short game jam taught me that it's okay to reuse assets you made. A game jam is all about making a game in a short time period so cutting corners is a necessity if you want to release a full game that everyone can enjoy.
January 2025 - May 2025
Graffiti War
Platform: PC
Engine: Unity
Team Size: 6 (Hybrid)
Duration: 4 months
Software: Maya, Clip Studio Paint, Procreate
Build: Itch.io
For my senior project, my team had to create a game from scratch in 4 months, which we would showcase to the public for our final. I had a hybrid schedule where I met with my team twice a week to make sure we were on task. The team was made up of two designers, two artists, and two programmers.During the first half of the project, I was the point of contact when it came to the visual design of the game. So, I mainly focused on the research and concepting so everyone on the team understood how this game was supposed to look. In the second half, I created 5 character models, 3 environmental assets, 13 texture sheets, and 5 full-screen UI overlays.
Early Concept Stage
We decided for the game to take place in the subway station based on the 70s in New York City. We took inspiration from games like Streets of Rage, Urban Warriors, and Bungo Bash.Based on these details, I went on a deep dive researching details in this time period, such as economic development, fashion, movements, what was popular back then, etc.The most important part of this stage is understanding why graffiti played an important role in this time period and what styles they used. People tag public items to symbolize youth culture and resilience. But gangs used graffiti as a way to claim their territory and create visual boundaries in the city. Which is why our game was created.


Modeling and Texturing Stage
I wanted to challenge myself by using Maya to create my models for this game. I was learning Maya in one of my other classes, so I wanted to get my practice in and use it for my senior project.We wanted a PSX style for Graffiti War, so I made a very low-poly character base, which I used for all characters in the game because of time constraints.As for the textures, I used Procreate and used lots of gritty brushstrokes and saturated colors to show depth despite the low-poly models.


UX/UI Stage
For this game we need 5 full-screen UI designs: a startup menu, a pause menu with a list of combos the player was able to do, a game over screen, and a win screen.I used Clip Studio Paint to create all the assets and implemented them into Unity in separate layers so the buttons can be interactive.Since the in-game shaders wouldn't have any effect on pre-rendered images, I had to add an overlay effect so we can keep the PSX theme.


The win screen is see-through because it shows the player's graffiti when they win.
Itch.io Design Stage
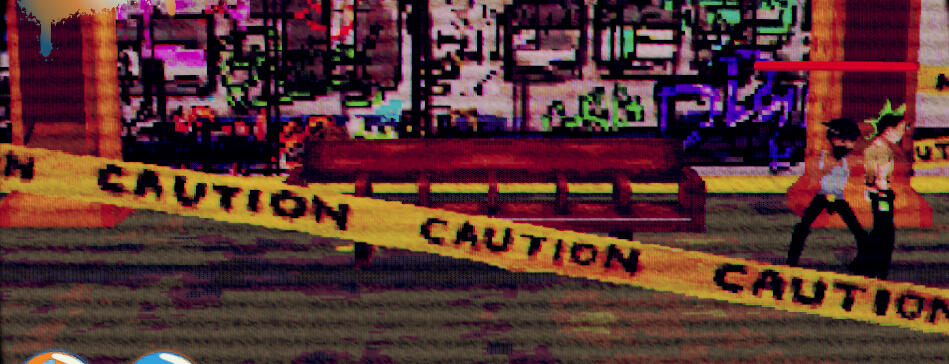
Behind each successful itch.io game will always have a well-thought-out landing page, which is what my professor told my team. I decided to bring the theme of the game and match it with its landing page.A graffiti-like title that resembles the iconic subway station banner, grunge-like subway tiles for the background, and big CTR TVs that display gameplay in the game were used in the subway stations at that time along with its VCR tapes.


The win screen is see-through because it shows the player's graffiti when they win.
Final Thoughts
During our showcase, a lot of people were super interactive with the game and enjoyed the gameplay. Although we had bugs and had to cut so many corners to make the deadline, I am extremely happy with the way this game turned out.This experience taught me to communicate better with others, and being well-rounded in game dev is a super valuable skill when hands are short in different areas. Plus, making visual boards is very important when showing other artists the style of the game and creates fewer opportunities for miscommunications.Regardless, this game was a success in my books.
